Rustic Blood Orange Galette
Citrus season brings a burst of brightness, and my Rustic Blood Orange Galette is here to steal the show! Colorful blood orange slices create a stunning display inside a flaky homemade pastry, all jazzed up with a hint of nutmeg and a sweet orange marmalade glaze.
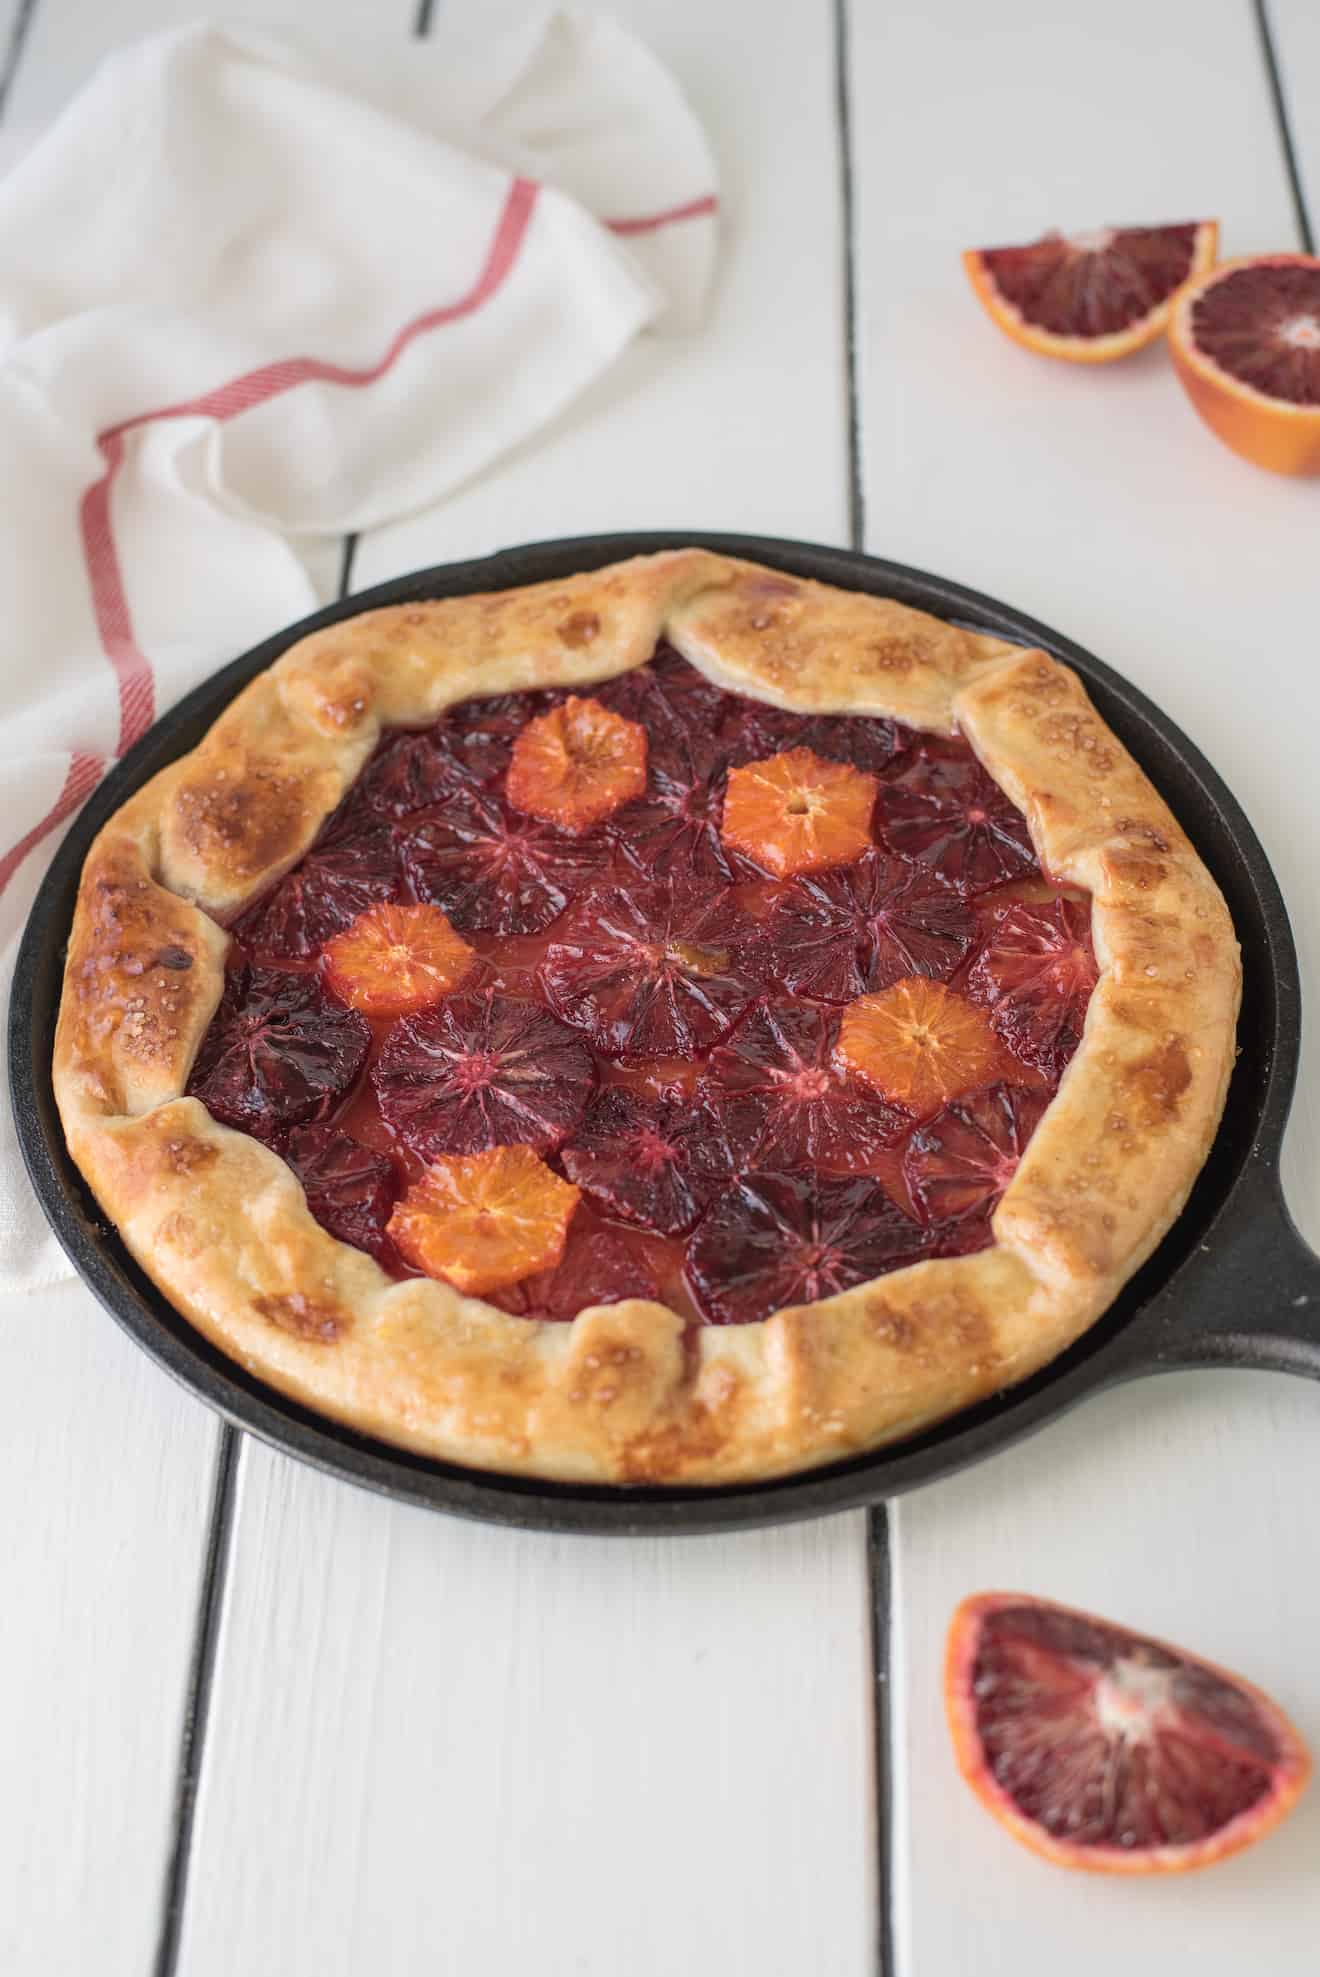
Bring out the oranges for citrus season! Enjoy Sumo oranges, blood oranges, navel oranges, Cara Cara oranges, mandarins, and more. What’s your favorite? Use any of your favorite oranges in this fresh citrus galette. Because of the deep red blood color, blood oranges were my choice.
This recipe is a classic from 2018! I’ve given the text a little makeover, but don’t worry—the delicious recipe is staying just the same!
Table of contents
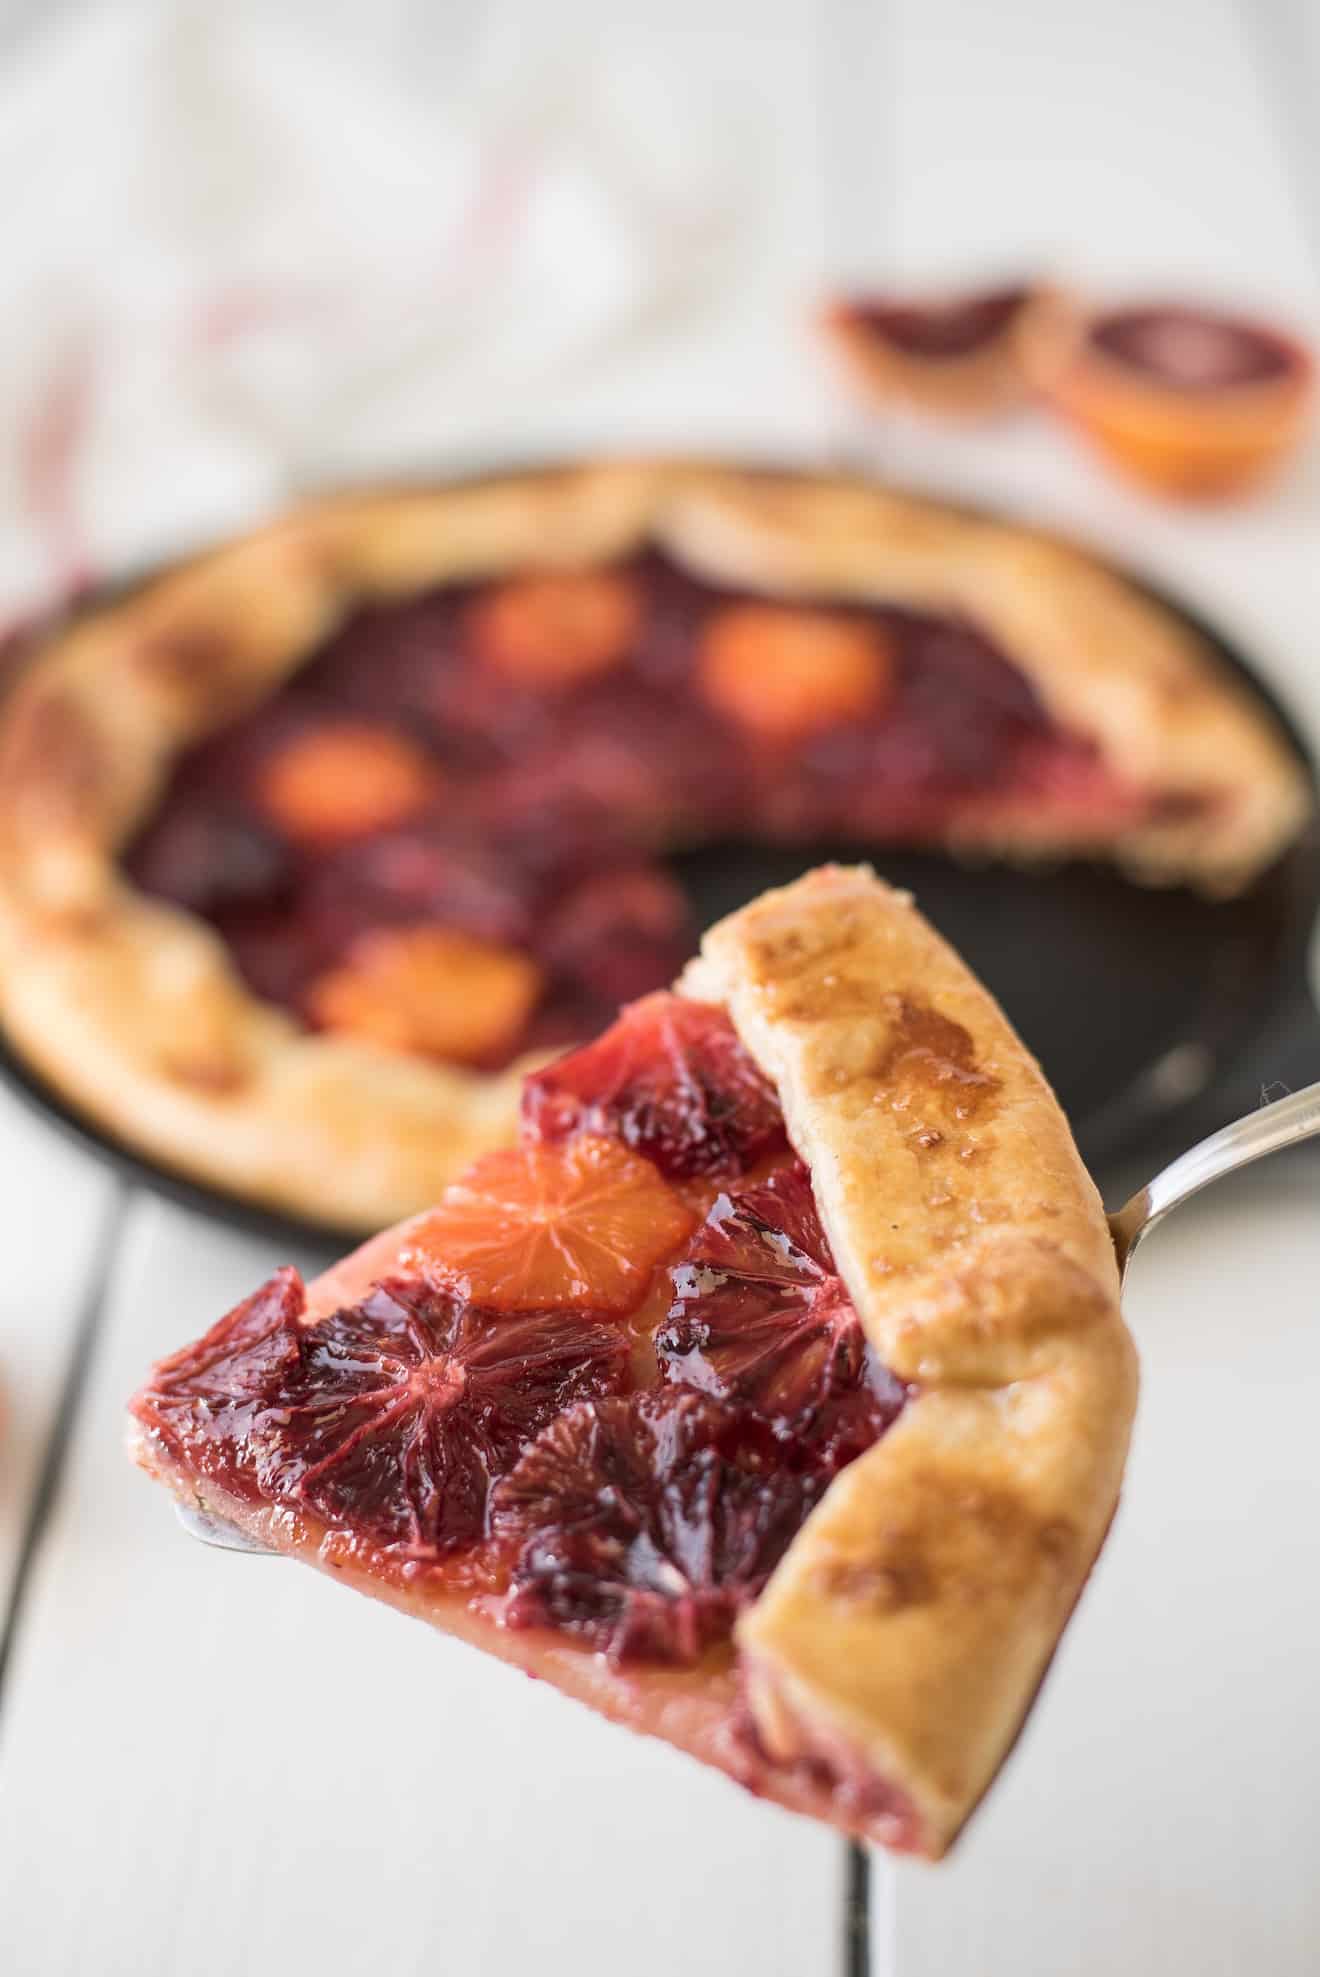
What is a Galette?
A galette is a type of free form tart that has a more rustic shape since it isn’t made in a pan or tin. While tarts are baked in a tart pan, galettes feature a flat, round pastry with the center of the dough filled with fruit and the pastry edges folded over the filling. Not to be confused with a galette de rois that has a full pastry top and is usually filled with frangipane (an almond cream).
Rustic Blood Orange Galette Galette/Tart Pastry
This pastry tastes just as delicious as the filling. Orange zest and nutmeg in the dough enhance the citrus and spice flavors, which carry through to the filling.
Galette/Tart Pastry
This is my go-to recipe that I use for my Pear Tart and savory tarts like Quiche and Tomato Galette. It is very easily made in the food processor or by hand. They key is mixing the cold butter into the flour so the small bits of butter left in the mixture melt during baking, creating pockets of steam that help form layers and give a light, flaky texture. If you’re not comfortable making your own flaky pastry crust, you could use premade puff pastry.
Tips for the Best Galette/Tart Pastry
- Use very cold butter. Cold butter stays in solid chunks as you rub it into the flour, forming small pockets of fat. When the pastry bakes, the butter melts, leaving behind tiny air pockets that give the pastry its flakiness.
- Use cold or ice water. The cold water helps keep the butter (or other fats) solid as you mix the dough. This is crucial for creating the flaky texture.
- Don’t overwork the pastry dough. When you knead or handle dough too much, the gluten in the flour develops, which can make the dough tough instead of light and flaky. By limiting the handling, you prevent this.
- Chilling the dough (wrapped well in a piece of plastic wrap) allows the fat (butter or shortening) to solidify again so when it bakes, it creates those wonderful pockets of air, making the pastry light and flaky. Chilling the dough helps prevent it from shrinking too much during baking, ensuring your pastry keeps its shape.
- Resting the dough in the fridge allows the gluten to relax, which makes the dough easier to roll out.
- When rolling the dough, aim for an even thickness. This helps the galette bake uniformly. You don’t need a perfect circle—rustic is the key!
- Add an egg wash: The only part of the pastry exposed is the 2-inch border. Brush the pastry edge with a beaten egg or egg wash for a golden brown, glossy finish once baked.
- Bake at a high temperature for a crisp, golden crust.
- No leavening needed. You don’t need baking soda or baking powder for galette. All-purpose flour (plain flour) is used which contains no leavening. They are intentionally rustic and don’t require the fluffiness that leavening provides. The goal is a tender, flaky crust that complements the filling, not a puffy dough.
- Use unsalted butter in pastry. Unsalted butter allows you to control the amount of salt you add to the dough. Pastry doughs often have only a small pinch of salt, so using unsalted butter gives you more precision in seasoning.
Best Pan for Galette
I like to use my cast iron griddle pan with no sides—it’s the perfect size. You can also use a large flat cookie sheet or wide baking sheet/tray Just make sure to line it with parchment paper or baking paper so the galette doesn’t stick, and it makes it easier to remove from the pan.
How to Peel and Slice Oranges
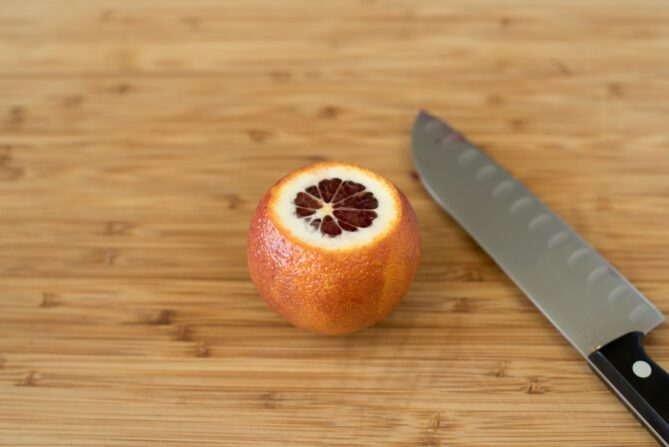
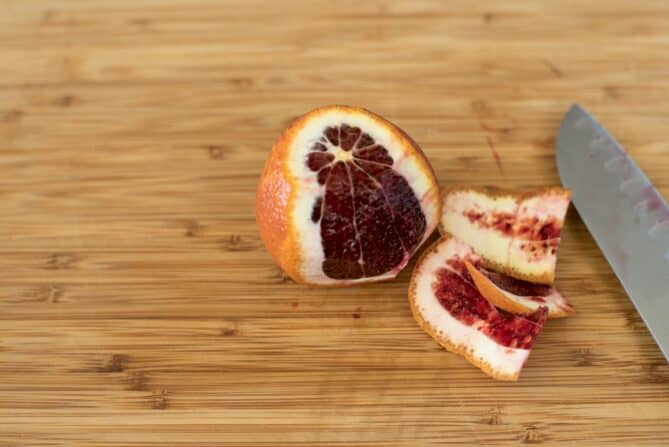
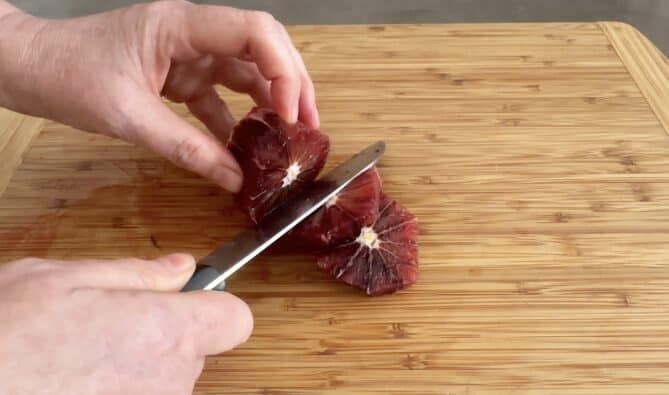
For a pretty presentation, I remove the skin and slice the oranges so the orange sections are visible. To do this easily, use a sharp paring knife to slice off the top and bottom. Then, stand the orange upright and carefully cut between the bitter white pith and the flesh to remove the sides of the peel, working your way all around. Finally, lay the orange on its side and slice.
Galette Fillings
Galette fillings are as versatile as you like! While oranges make the perfect choice of citrus fruit, you can fill the galette with any seasonal fruit. Try sliced peaches or apricots, apples, pears, or a mix of your favorite fruits. Each fruit brings its own unique flavor and texture, making the galette the perfect canvas.
How to Serve Galette/Tart
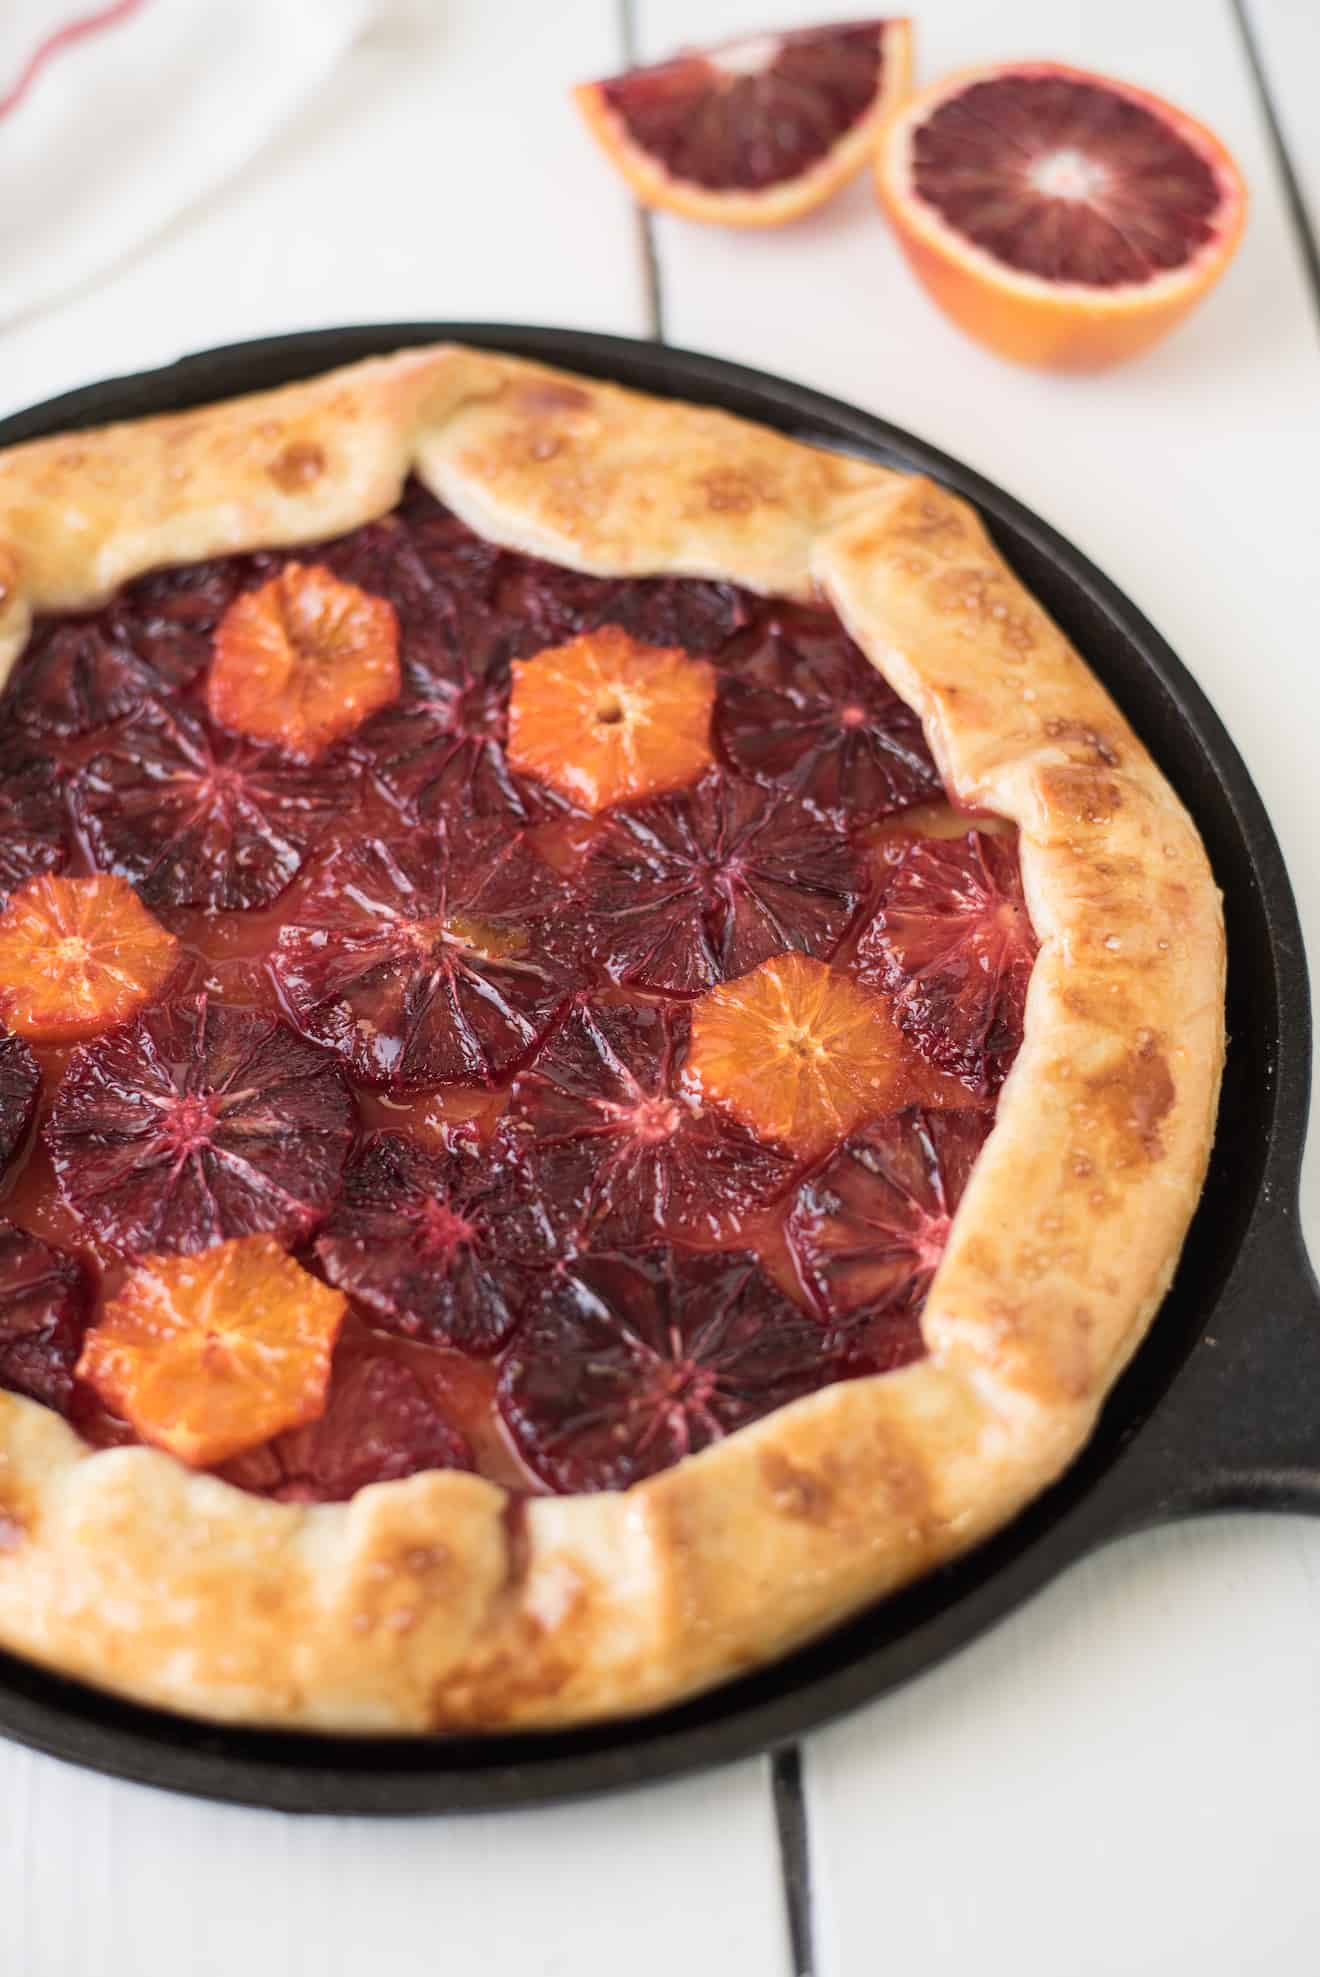
To serve, let the tart cool to room temperature for the ideal balance of flavors and texture. Slice the galette into wedges, ensuring each piece showcases the flaky crust and vibrant orange filling. For a touch of indulgence, add a generous scoop of vanilla ice cream or a dollop of whipped cream on the side, along with a drizzle of caramel sauce.
If you’ve made this Rustic Blood Orange Galette, please leave a star rating in the recipe card. You can also leave a comment or question below.
Rustic Blood Orange Galette
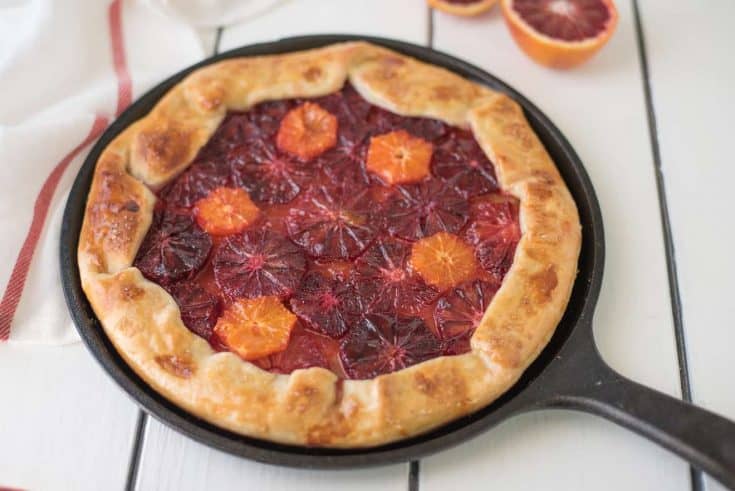
Sweet and tangy sliced blood oranges, orange marmalade spiked with fresh nutmeg are wrapped in a flaky, buttery crust.
Ingredients
- 1 1/2 cups (194 grams) all-purpose flour, plus more for rolling out dough
- 1/2 cup/1 stick (113 grams) unsalted butter, cold and cut into cubes
- 1 tablespoon granulated sugar, plus 1/2 teaspoon
- 1/2 teaspoon salt
- 1/4 teaspoon freshly grated nutmeg
- 1 teaspoon orange zest, grated
- 1/2 cup (118 ml) very cold water
- 3 tablespoons orange marmalade, plus 2 teaspoons
- Small grating of nutmeg
- 3-4 blood oranges, peeled and sliced
- 1 egg, beaten with a little water
Instructions
- To a food processor fitted with a metal blade add the flour, butter, sugar, salt and nutmeg. Pulse until the mixture resembles coarse meal, about 5 to 10 seconds. Add the orange zest. With the processor running, pour enough the water through the tube in a steady stream until the dough forms a ball. You may not use all the water. Do not over mix.
- Dust a clean work surface with flour.
- Remove the dough from the processor, turn out onto the floured surface and knead for 1 minute. Form the dough into a ball, wrap in plastic wrap and refrigerate for 30 minutes.
- Preheat oven to 375°F/190°C and line a large baking sheet with parchment paper (or an 11-inch/28 cm flat cast iron skillet)
- To a small bowl add the marmalade and nutmeg, mix well. If the marmalade is to hard to mix, warm it a little in the microwave. Set aside.
- Roll dough out to a 13 ½ inch (35 cm) round. Spread the 3 tablespoons marmalade all over the pastry, leaving a 1 ½ inch/4 cm border. Leaving a little to add after baking.
- Arrange the orange slices in an even layer. Fold the pastry border over to the edge of the fruit.
- Brush the pastry edge with the egg wash and sprinkle lightly with sugar (optional).
- Bake for 25-30 minutes or until golden brown (all ovens vary).
- When the galette is done, remove from the oven and brush the oranges with the marmalade. Transfer to a cooling rack and allow to cool completely.
Notes
Nutrition Information
Yield
8Serving Size
1 sliceAmount Per Serving Calories 295Total Fat 10gSaturated Fat 4gTrans Fat 0gUnsaturated Fat 5gCholesterol 27mgSodium 277mgCarbohydrates 48gFiber 3gSugar 12gProtein 5g
This nutrition calculation is provided by Nutronix that is only a guideline and not intended for any particular diet.



5 Comments on “Rustic Blood Orange Galette”
Wow this is such pretty galette! I am loving all the colours on it! Definitely need to make this for my next gathering! I love how rustic it is too, making pies are quite intimidating to me haha! 🙂
What a gorgeous tart…blood oranges add a great color!
What a stunning looking dessert I bet it tastes incredible too!
Blood orange really does make everything look stunning doesn’t it. This looks really beautiful and delicious too.
I have only ever used blood oranges in margaritas! Ha! This looks like a fabulous way to incorporate them into a dessert. Beautiful!